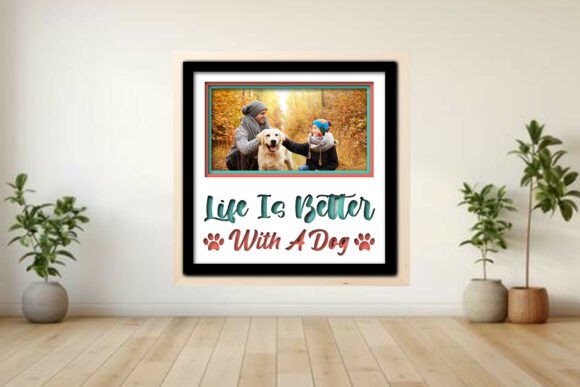
Life is Better - Dog Photo Frame Shadow: A Practical Guide to Layered Laser Crafting
Creating personalized home decor requires more than just a good design; it demands a workflow that balances creativity with technical precision. The Life is Better - Dog Photo Frame Shadow project represents an ideal intersection of sentimental value and laser-cutting craftsmanship. For makers using machines like Glowforge®, xTool®, OMTech, or even desktop cutters like Cricut® and Silhouette®, this layered shadow box offers a structured yet flexible template for producing high-quality, three-dimensional art. Understanding how to integrate this digital asset into your existing production pipeline can significantly enhance both efficiency and the final aesthetic quality of your work.
Understanding the Design Architecture
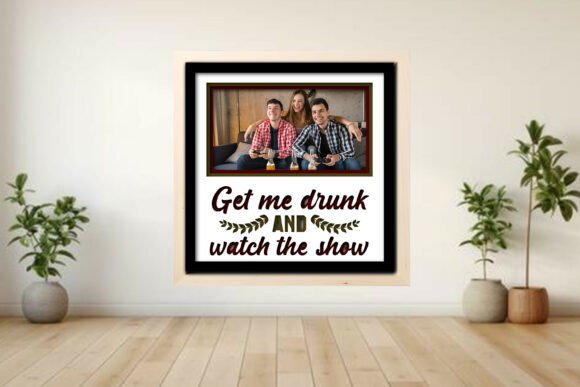
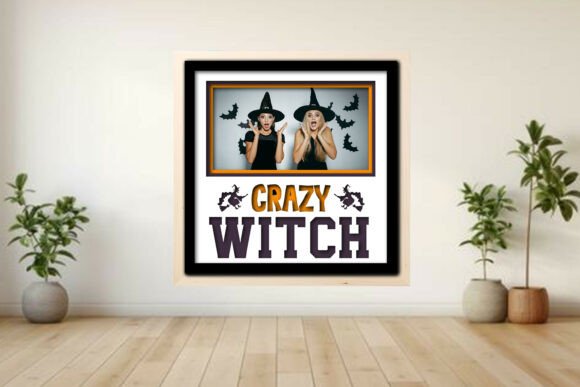
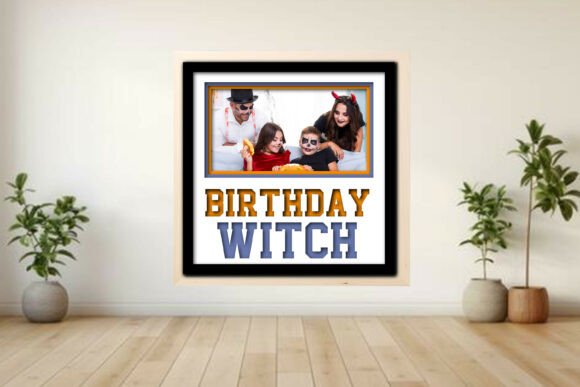
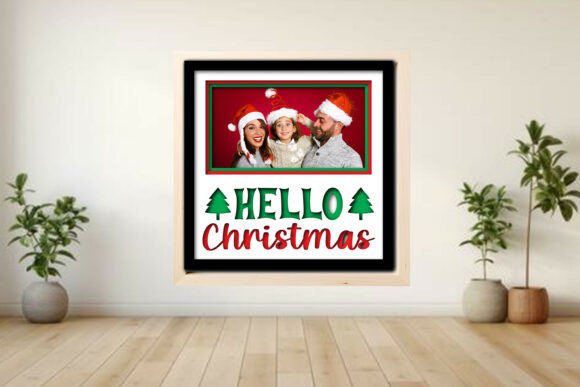
At its core, this project is not merely a single cut file but a composite system of layers designed to create depth. The Life is Better - Dog Photo Frame Shadow utilizes a multi-layer approach where each component serves a specific visual function. The backer provides structural integrity, while the frame mat creates the primary border. Accent pieces, such as the “Santa squad,” tree, and star elements, add thematic context, particularly for holiday decor. However, the true utility lies in its adaptability. With options for 1, 2, 3, or 6 photo layouts, the design accommodates various memory-display needs, from a single standout portrait to a collage of past Christmases.
For professionals and hobbyists alike, recognizing the modular nature of this SVG and DXF package is crucial. It allows you to treat the frame not as a static product but as a customizable platform. Whether you are a small business owner looking to offer personalized gifts or a parent creating a unique family heirloom, the ability to scale and adjust the layout ensures the final output matches the intended use case without requiring extensive redesign work from scratch.
Preparation and File Compatibility
Successful implementation begins with proper file management. The download includes multiple formats: SVG, DXF, PDF, EPS, PNG, and potentially LBRN2 for LightBurn users. Selecting the correct format for your software ecosystem is the first step in a smooth workflow. Users of Glowforge® typically rely on SVG or PDF imports, ensuring that vector paths remain clean and scalable. Meanwhile, those operating within LightBurn will find the LBRN2 project file particularly valuable, as it often comes pre-configured with layer settings.
Color-coding plays a pivotal role in organizing these files for efficient processing. In many laser workflows, red lines indicate cut paths, blue lines denote score or fold lines, and black areas represent engraving zones. The Life is Better - Dog Photo Frame Shadow adheres to this industry-standard convention, reducing the time spent manually assigning operations. For users of Cricut® or Silhouette®, the SVG files allow for precise cutting and scoring, though the lack of laser engraving capabilities means the aesthetic will rely more heavily on material contrast and layering rather than surface detail.
Before sending any job to your machine, it is essential to verify the scalability of the design. Since the frame is fully scalable, you can adjust dimensions to fit specific photo sizes or material constraints. However, scaling affects kerf—the width of material removed by the laser or blade. Always perform a test cut on scrap material when changing scales significantly to ensure that interlocking parts still fit together snugly. This step is critical for maintaining the structural integrity of the 3D effect.
Material Selection and Machine Settings
The choice of material dramatically influences the final appearance and durability of the shadow box. While the project is tested on 3 mm plywood, other materials such as MDF, acrylic, or cardstock can be used depending on your machine’s capabilities and the desired finish. Plywood offers a warm, rustic aesthetic that complements the "dog mom" and holiday themes, while acrylic can provide a modern, sleek look. If you are using a diode laser like xTool® or OMTech, ensure that the material thickness does not exceed the machine’s cutting capacity in a single pass, or plan for multi-pass strategies.
Settings vary significantly between machines due to differences in laser power, lens focal length, and assist air systems. Therefore, relying solely on provided settings can lead to inconsistent results. A best practice is to create a material test grid. Adjust power and speed parameters to achieve clean cuts without excessive charring. For the score lines, which help in folding or aligning layers if applicable, lower power and higher speed are generally required. Engraving settings should be optimized for contrast, especially if you plan to add custom text or dates to the backer board.
Assembly and Workflow Integration
Once the components are cut, the assembly process transforms flat pieces into a dimensional object. The included simple assembly guide PDF provides a roadmap, but experienced makers often develop their own ergonomic workflows. Start by organizing all cut pieces by layer. This prevents confusion during assembly, especially when dealing with multiple similar-sized accents like the stars or tree elements. Using tweezers and wood glue or acrylic cement, depending on your material, allows for precise placement.
Integrating this project into a broader business or creative workflow involves considering batch production. If you are creating these frames for sale, consider cutting multiple backers and mats simultaneously to maximize machine uptime. Standardize the photo insertion method—whether using adhesive corners, clear sleeves, or direct mounting—to ensure consistency across units. For personal projects, take time to curate the photos. The "Santa squad" theme suggests a focus on holiday memories, so selecting images with consistent lighting or color tones can enhance the overall visual harmony of the display.
Quality control is an ongoing part of the process. Inspect each cut piece for burn marks or incomplete cuts before assembly. Sanding edges lightly can improve the fit and finish, particularly for plywood, which may have slight variances in thickness. Ensure that the glass or acrylic cover, if used, is clean and free of fingerprints before sealing the frame. This attention to detail elevates the perceived value of the final product, whether it is a gift or a commercial item.
Long-Term Value and Customization
The Life is Better - Dog Photo Frame Shadow is designed for longevity, both in terms of physical durability and aesthetic relevance. By choosing neutral base colors for the frame and letting the photos provide the vibrancy, the piece remains timeless. However, the optional score and engrave lines allow for further personalization. Adding names, dates, or short messages can transform a generic frame into a specific commemorative item. This level of customization is particularly valuable for marketers and entrepreneurs who wish to offer bespoke services to clients.
From a workflow perspective, saving your modified settings and layout preferences creates a template for future projects. Over time, you can build a library of variations based on this core design, adapting it for different holidays, pets, or family events. This reusability maximizes the return on investment for the digital download. Furthermore, sharing your completed projects on social media or maker communities can provide feedback loops that refine your technique and inspire new adaptations.
Ultimately, this project exemplifies how digital assets can streamline creative expression. By providing a robust, well-structured foundation, the Life is Better - Dog Photo Frame Shadow allows creators to focus on the emotional content of the photos rather than the technical challenges of frame construction. Whether you are a seasoned laser operator or a novice crafter, integrating this tool into your repertoire offers a reliable path to producing meaningful, high-quality decor.