Crafting Memories: The I’m with the Witch Photo Frame Shadow Box Guide
In the evolving landscape of digital fabrication, the line between technology and heartfelt tradition continues to blur. For makers, crafters, and small business owners, the challenge often lies not in the capability of their machines, but in finding designs that resonate emotionally while remaining technically feasible. Enter the I’m with the Witch Photo Frame Shadow, a layered design project that transforms standard holiday decor into a personalized keepsake. This article explores the intricacies of this shadow box project, detailing its compatibility, assembly, and the unique value it brings to both hobbyists and professional creators.
The Appeal of Layered Shadow Boxes
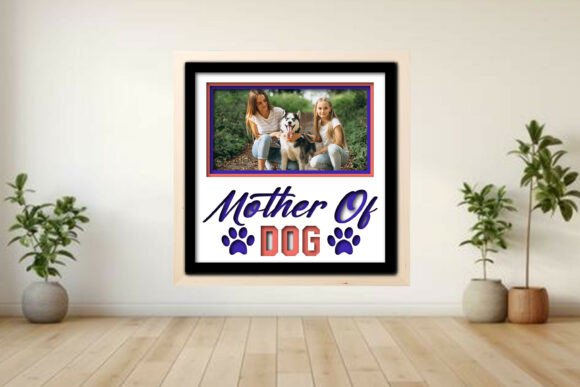
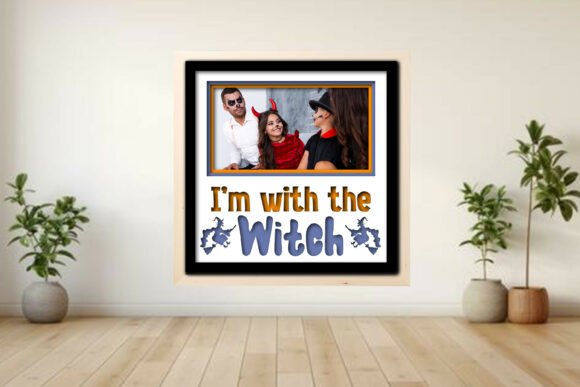
Shadow boxes have long been a favorite in the crafting community because they offer depth and dimension that flat prints simply cannot achieve. The I’m with the Witch Photo Frame Shadow leverages this aesthetic by utilizing multiple layers of material to create a three-dimensional scene. Unlike traditional frames where a photo sits behind glass, this design integrates the image into the structure itself, surrounded by thematic accents like trees, stars, and whimsical text.
The primary advantage of this approach is customization. By choosing from 1, 2, 3, or 6 photo layouts, users can tailor the final piece to their specific needs. A single large layout might highlight a cherished family portrait, while a six-photo grid could serve as a year-in-review collage. This flexibility makes the project suitable for various occasions, though its thematic elements lean heavily into festive holiday decor.
Machine Compatibility and Technical Specifications
One of the most significant strengths of the I’m with the Witch Photo Frame Shadow is its broad compatibility across the digital fabrication spectrum. Whether you are operating a high-powered CO2 laser cutter or a desktop die-cutting machine, this design is engineered to adapt.
- Laser Cutters: Fully optimized for Glowforge®, xTool®, OMTech, and similar devices. The design includes specific settings for LightBurn users, ensuring precision.
- Die-Cutting Machines: Compatible with Cricut® and Silhouette® platforms, allowing users without laser access to create the frame using cardstock or thin wood veneers.
- File Formats: The download package is comprehensive, including SVG, DXF, PDF, EPS, PNG, and LBRN2 files. This variety ensures that regardless of your software preference, you can import the design without conversion errors.
For laser users, the inclusion of an LBRN2 project file is particularly valuable. It eliminates the guesswork associated with setting cut lines, score lines, and engrave areas. The design is color-coded for efficiency: red lines indicate cuts, blue lines denote scores, and black areas represent engraving. This system streamlines the workflow, reducing setup time and minimizing material waste during test runs.
Design Elements and Assembly Process
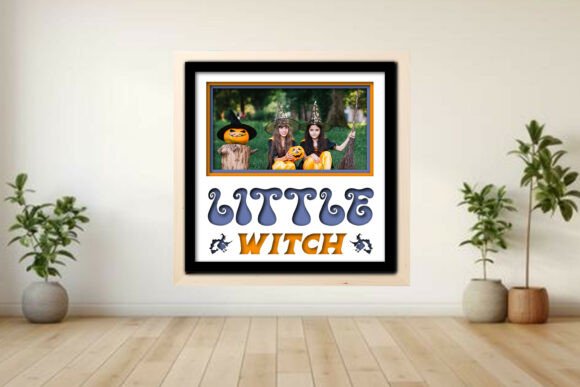
The visual charm of the I’m with the Witch Photo Frame Shadow lies in its detailed components. The kit includes separate layers for the backer, frame mat, and decorative accents such as the “Santa squad,” trees, and stars. Optional score and engrave lines allow for further personalization, enabling creators to add texture or additional details to the wooden surfaces.
Step-by-Step Construction Insights
Assembly is designed to be intuitive, supported by a simple PDF guide included in the download. However, understanding the logic behind the layers enhances the final result. The process generally follows these steps:
- Preparation: Select your material. While 3mm plywood is the standard recommendation for laser cutting, thicker cardstock works well for die-cutters. Ensure your material is flat and free of warping.
- Cutting and Scoring: Run your job using the provided settings. It is crucial to perform a material test first, as power and speed requirements vary significantly between machines like the Glowforge and the xTool.
- Cleaning: Remove any char residue from laser-cut edges using a soft brush or damp cloth. This step is essential for achieving a clean look before assembly.
- Layering: Begin with the backer board. Adhere the photo prints to the designated openings. Next, stack the frame mat and decorative accents, using adhesive dots or wood glue depending on the material thickness.
- Final Touches: Attach any hanging hardware if the frame is intended for wall display, or add a stand for tabletop presentation.
The layered design creates a natural 3D effect, drawing the eye inward toward the photographs. This depth adds a professional finish that elevates the project beyond typical DIY crafts.
Practical Applications and Use Cases
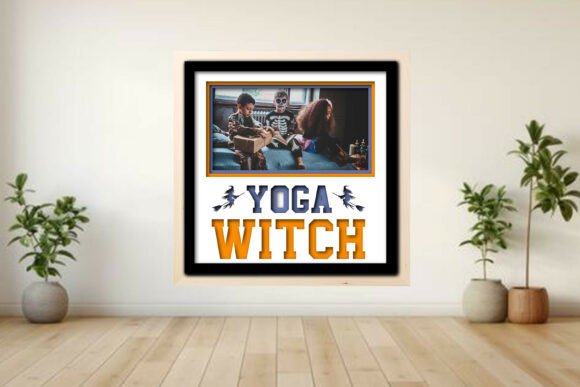
While the I’m with the Witch Photo Frame Shadow is themed for the holidays, its utility extends into several practical scenarios for different types of users.
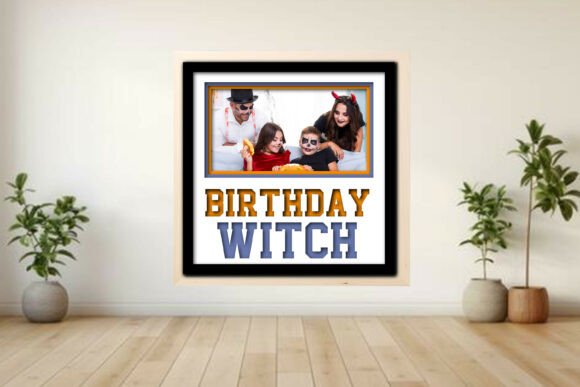
For Hobbyists and Home Decorators: This project offers a sweet way to display memories from Christmases past. Instead of storing photos in albums, they become part of the seasonal decor. The whimsical theme adds a touch of humor and warmth to living rooms, mantels, or entryways.
For Small Business Owners: Crafters selling on platforms like Etsy can use this design to create high-margin holiday products. The ability to choose between 1, 2, 3, or 6 photo layouts allows for tiered pricing strategies. A single-photo frame might be an entry-level item, while a six-photo collage serves as a premium gift option.
For Gift Givers: Personalized gifts carry emotional weight. By inserting family photos into the I’m with the Witch Photo Frame Shadow, givers create a unique present that recipients are likely to keep and display for years. It transforms a generic craft kit into a deeply personal gesture.
Considerations and Limitations
As with any digital download, there are important considerations to keep in mind to ensure satisfaction. First, it is vital to understand that this is a digital product only. No physical materials, photos, or mockups are included in the purchase. Users must source their own wood, cardstock, adhesive, and printing materials.
Secondly, machine settings are not universal. The design has been tested in LightBurn on 3mm plywood, but results will vary based on the age of the laser tube, lens cleanliness, and ambient conditions. Users are strongly advised to run a material test on scrap pieces before committing to the final cut. This precaution prevents wasted material and ensures clean cuts and accurate scores.
Additionally, while the design is fully scalable, adjusting the size may require recalibrating the thickness of the spacer layers. If you significantly enlarge the frame, the standard 3mm material might not provide enough depth for the desired 3D effect, potentially requiring additional layers or thicker stock.
Evaluating Suitability for Your Project
Before downloading the I’m with the Witch Photo Frame Shadow, consider your current skill level and equipment. If you are new to laser cutting, the color-coded LBRN2 file provides a gentle learning curve. For experienced makers, the editable vector files (SVG, DXF) offer the freedom to modify elements, such as changing the text or swapping out the tree accents for other shapes.
Ask yourself the following questions:
- Do I have access to a laser cutter or die-cutting machine?
- Am I comfortable sourcing and preparing my own materials?
- Do I have high-resolution photos ready for printing?
- Is the whimsical holiday theme appropriate for my intended audience or decor style?
If the answer to these questions is yes, this project represents an excellent opportunity to blend technical skill with creative expression.
Conclusion
The I’m with the Witch Photo Frame Shadow stands out as a versatile and engaging project for the modern maker. It bridges the gap between digital precision and handmade charm, offering a structured yet flexible framework for creating lasting memories. Whether used for personal home decor, thoughtful gifting, or small business inventory, this shadow box design delivers both aesthetic appeal and practical functionality. By understanding the technical requirements and embracing the creative possibilities, users can transform simple sheets of wood or paper into cherished holiday treasures.
For those ready to start, remember to review the included assembly guide, test your materials, and let your creativity shine through the layers. The result is not just a frame, but a story told through depth, light, and memory.