Bad Witch Photo Frame Shadow Guide
There is a distinct satisfaction in transforming digital files into tangible, three-dimensional art. The Bad Witch Photo Frame Shadow project captures this spirit perfectly, blending whimsical holiday charm with the precision of modern laser cutting and crafting technology. While the name might suggest something spooky, the end result is a charming, layered shadow box designed to showcase your most cherished memories from Christmases past. It is not just a frame; it is a storytelling device that adds depth and personality to your holiday decor.
For makers, small business owners, and creative hobbyists, this project represents more than just a seasonal craft. It is an exercise in spatial design, material selection, and assembly logic. Whether you are using a Glowforge®, xTool®, OMTech, or a desktop cutter like Cricut® or Silhouette®, understanding the nuances of this layered design ensures a professional finish. This guide explores how to maximize the potential of this design asset, ensuring your final product stands out for its craftsmanship and visual appeal.
Understanding the Layered Aesthetic
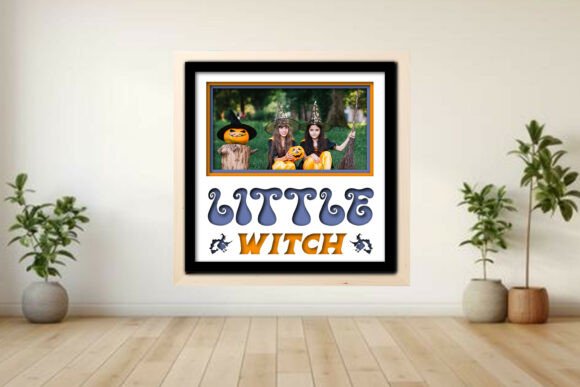
The core appeal of the Bad Witch Photo Frame Shadow lies in its construction. Unlike flat, two-dimensional frames, this design utilizes multiple layers of material to create a sense of depth. This technique, often referred to as kerfing or layering in laser cutting, allows light and shadow to play across the surface of the frame, enhancing the visual interest of the displayed photograph.
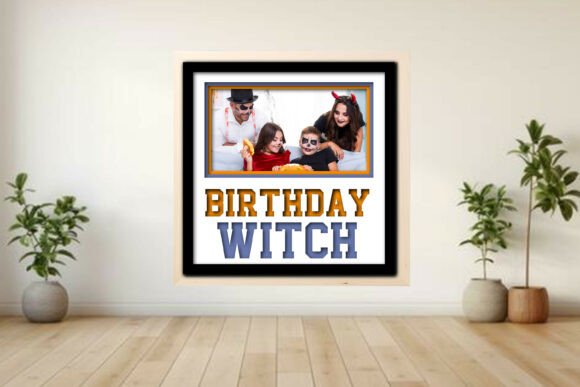
The design typically includes several key components: a sturdy backer, a frame mat that holds the photo, and decorative accents such as the "Santa squad," trees, and stars. These elements are not merely glued on top; they are integrated into the structure, creating a cohesive unit. The optional score and engrave lines add texture and detail, allowing for further customization depending on your machine’s capabilities. For instance, using a laser cutter, you can achieve precise engraving that adds a subtle, sophisticated touch to the whimsical characters.
Visually, the frame balances playful imagery with clean lines. The "Bad Witch" theme, interpreted through cute, stylized characters, offers a unique twist on traditional holiday motifs. It appeals to those who appreciate a bit of quirkiness in their decor. The layered approach means that each element casts a slight shadow on the layer below it, creating a natural 3D effect without requiring complex joinery. This makes it an excellent example of how simple geometric principles can elevate a basic craft project into a piece of modern typography-inspired art.
Material Selection and Machine Compatibility
One of the strongest features of this project is its versatility across different platforms. The included files—SVG, DXF, PDF, EPS, PNG, and LBRN2—ensure compatibility with a wide range of tools. However, the choice of material significantly impacts the final look and feel of the Bad Witch Photo Frame Shadow.
For laser cutters like Glowforge® or xTool®, 3mm plywood is the standard recommendation. Plywood offers a warm, natural aesthetic that complements the holiday theme. The layers of plywood stack neatly, and the slight variation in wood grain between layers can add organic beauty to the piece. When working with plywood, it is crucial to run a material test first. Settings vary by machine, age of the laser tube, and even humidity levels. A test cut ensures that your cuts are clean and your engraves are consistent.
If you are using a blade-based cutter like Cricut® or Silhouette®, cardstock or heavy-weight paper becomes your primary medium. In this context, the project transforms into a delicate paper craft. The score lines become essential here, allowing for crisp folds if any elements require bending, though most of this design relies on stacking. Using contrasting colors of cardstock can highlight the different layers, making the "Santa squad" and tree accents pop against the background. This adaptability makes the design a valuable asset for creators who work across multiple mediums.
Color-coding in the provided LightBurn file simplifies the process. Red lines indicate cuts, blue lines denote scores, and black areas are for engraving. This clear visual hierarchy helps prevent errors during the production phase, saving time and material. For those new to laser cutting, this color-coded system serves as an educational tool, teaching the basics of vector preparation and machine operation.
Design Flexibility and Customization
The Bad Witch Photo Frame Shadow is not a one-size-fits-all solution. It offers layouts for 1, 2, 3, or 6 photos, allowing you to tailor the project to your specific needs. This flexibility is crucial for both personal use and commercial applications. A single-photo layout might serve as a standout gift, while a six-photo grid could become a centerpiece for a holiday party or a retail display.
Scalability is another key feature. The vector files allow you to adjust the dimensions to fit your preferred photo size. Whether you are using standard 4x6 prints or smaller square formats, the design can be resized without losing quality. This scalability is essential for maintaining the integrity of the design elements. When scaling up, ensure that the thickness of your material is considered; you may need to adjust the depth of the layers to maintain proportion.
From a branding perspective, this project offers opportunities for customization. Small business owners can incorporate their logo into the backer or use specific color schemes that align with their brand identity. The clean lines and modular nature of the design make it easy to adapt for different themes beyond Christmas, such as Halloween or birthdays, by simply swapping out the decorative accents. This versatility increases the return on investment for the digital download, as it can be reused and repurposed throughout the year.
Assembly and Professional Finish
The difference between a good craft project and a great one often lies in the assembly. The included simple assembly guide PDF provides a roadmap, but attention to detail is paramount. Start by organizing your cut pieces. Labeling layers can prevent confusion, especially when dealing with multiple similar-sized components.
Adhesive choice matters. For wood, a high-quality wood glue or cyanoacrylate (super glue) works well. Apply sparingly to avoid squeeze-out, which can mar the finish. For paper projects, a precision glue pen or double-sided tape offers cleaner results. Aligning the layers precisely is critical for the 3D effect to work correctly. Use jigs or clamps if necessary to hold pieces in place while the adhesive sets.
Finishing touches can elevate the project. Sanding rough edges on wooden frames creates a smoother, more professional feel. Adding a clear coat or stain can protect the wood and enhance its natural grain. For paper frames, consider adding a protective spray to prevent fading or damage from handling. These small steps demonstrate a commitment to quality that customers and recipients will notice.
Ultimately, the Bad Witch Photo Frame Shadow is more than just a holiday decoration. It is a testament to the power of digital design in physical creation. By combining thoughtful layering, versatile file formats, and charming aesthetics, it offers a rewarding project for crafters of all skill levels. Whether you are looking to create a unique gift, expand your product line, or simply enjoy the process of making, this design provides a solid foundation for creative expression.